sink valve install on Black Friday
 |
| tools and supplies needed |
OK, I couldn't find any decent 'how to' for installing shutoff valve to copper pipe online, so I'm making my own here for others. Most online how-to's do not have much detail or photos, or have more advertising than content!
Here are the tools needed:
- hand held torch. I used the 'Benz-o-matic' trigger start torch with MAPP gas for the 3000+ degree flame temp
- lead-free solder
- lead-free solder flux
- LED flashlight
- 1/2" 'sweat connection' to 3/8" compression valves (Brasscraft)
- Rigid pipe cutter
- Brasscraft mini pipe cutter (not shown in photo)
- Brasscraft pipe reamer
- 150 grit sandpaper
- two 5 gallon buckets (or smaller if you're feeling lucky)
 |
| water main with valves turned off |
 |
| hot water heater cold feed shut off |
Before cutting any pipe, you have to shutoff the water supply. Do NOT forget to turnoff the shutoff to the hot water heater. When I cut pipe last time for the toilet, i had a small flood when my hot water heater started draining out, full force. Luckily I was able to shut it off in time before all 70 gallons came out.
Also, all faucets above the level of the pipe must be opened to drain any water in the lines. You could leave them closed, and hope the vacuum keeps the water in the pipe, but if your in the middle of work and suddenly someone tries to turn on the water, you're screwed!
 |
| rough plumbing. 1/2" copper hot and cold, 1 1/2" 'waste' PVC pipe |
 |
| Rigid pipe cutter, with tape mark 2" from wall |
 |
| Brasscraft mini pipe cutter |
When the water feed was too close to the drain pipe, I used the mini cutter to cut the pipe.
After a few turns, and you think the pipe is being close to cut open, put the bucket under the connection. Make those last few turns quickly, and the pipe will come off with quite a bit of water, and the stub will fall into the bucket.
 |
| drain water |
 |
| allowing pipes to drain completely |
 |
| Brasscraft pipe reamer |
You can check the reamer did the job by slipping the valve onto the pipe. If you feel anything catching, run your fingers along the pipe to check for any further 'deburring' (smoothing) needed.
When removing the valves from the boxes, they are fully closed. Since the heat from the torch could melt the rubber o-ring, i open the valve so the o-ring is not touching the part of the valve that is heated up. Just a precaution, maybe not needed.
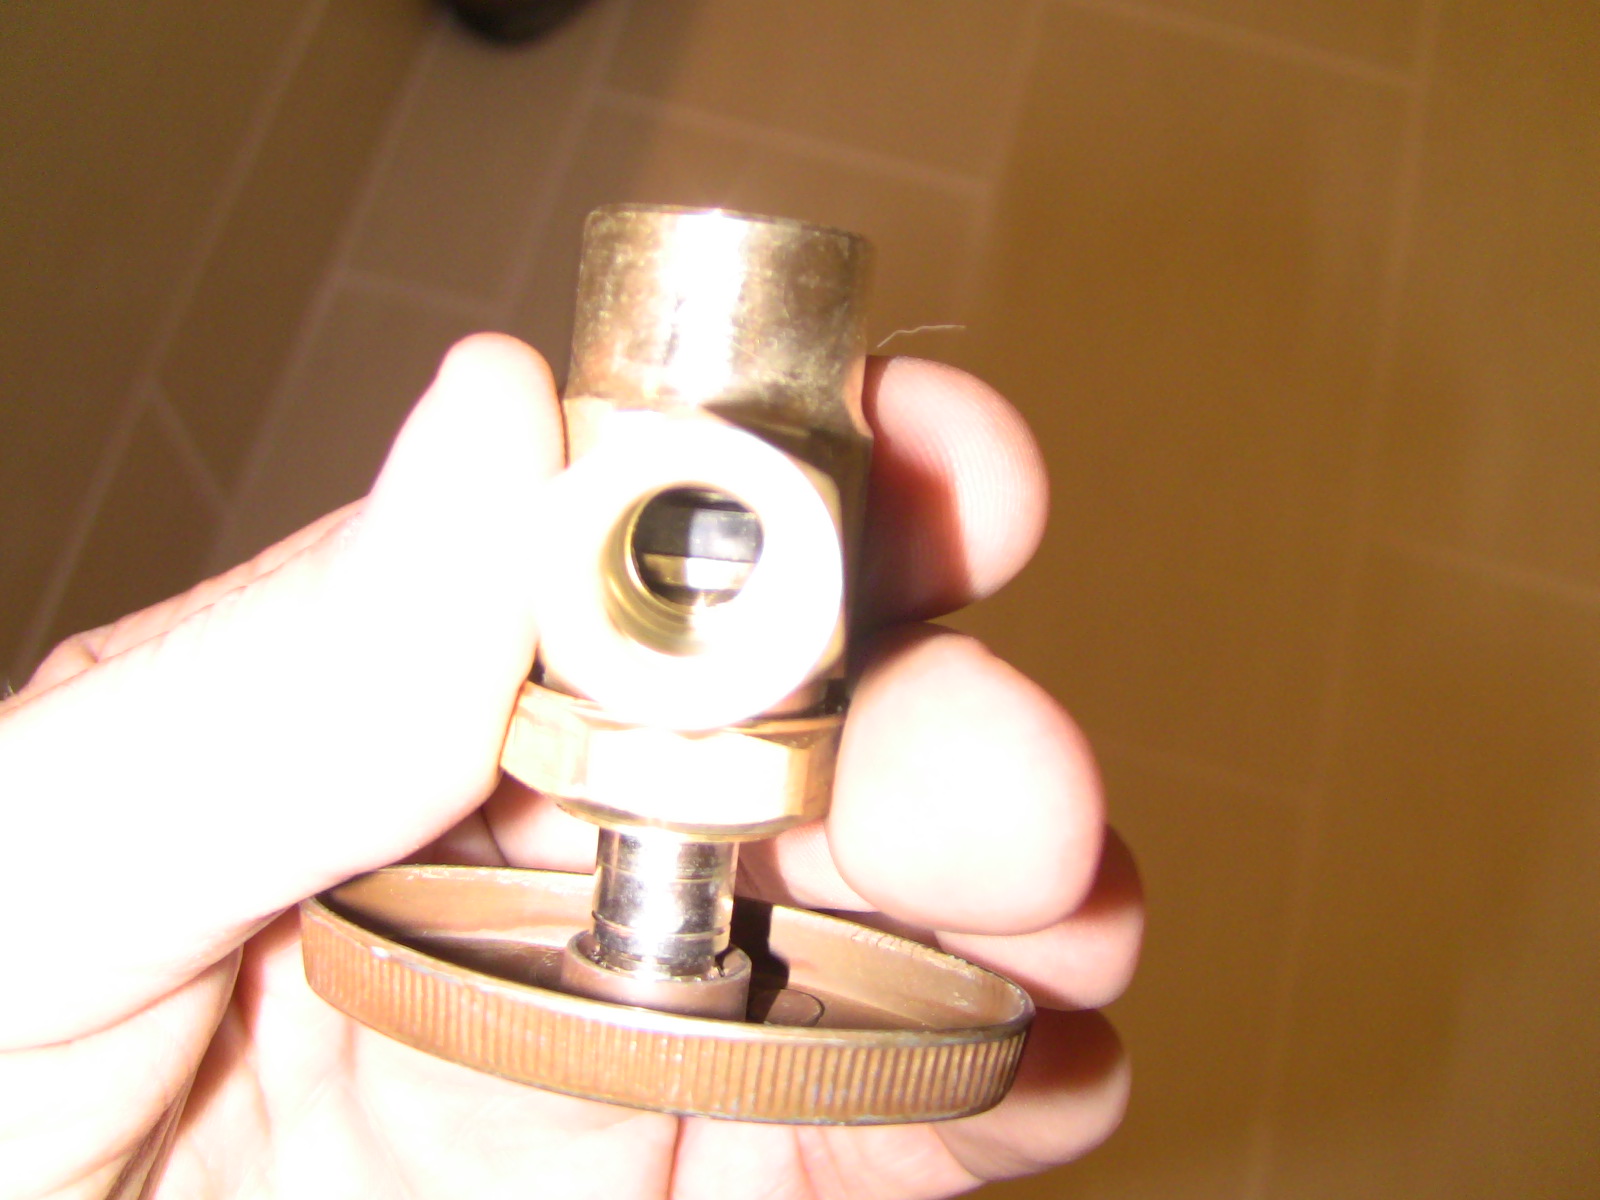 |
| o-ring inside valve |
After using the sandpaper to remove the paint, drywall mud, and oxidation, I applied the solder flux to the portion of the pipe that will be covered by the valve. Don't remove too much copper with the sandpaper! |
| applying solder flux |
 |
| removing excess flux from pipe |
You can find many youtubular videos that show someone soldering copper pipe. I only heated the pipe and valve just enough to melt the solder. I would apply the solder on all sides, including the bottom while moving the torch to the opposite side. You want the solder to melt against the hot metal, not the torch flame. You'll see the solder getting sucked into the valve connection due to the flux.
 |
| torch to left, *parallel* to wall |
Photo below shows all 4 valves installed
 |
| All 4 valves |

Follow this order:
1) wait for the valves to cool off
2) close all the sink valves fully
3) turn on the cold and hot water supplies. If you're not confident about your solder job, make sure someone else is watching the valves when you turn on the main water supply. If there are any gross leaks, they can let you know immediately so you can turn off the main supply immediately
4) bleed the air out of the end of the pipe. Open the sink valve just enough so water comes out and all the air is out of the pipe. You'll hear a quick swoosh sound, and then close the valve again. This all has to be done in a few seconds!
5) check for leaks

 |
| 'paper towel test' |
Most vanity drains are 1 1/4", but PVC drain pipe is 1 1/2", so you need p-trap adapter. I used PVC glue to attach to drain.
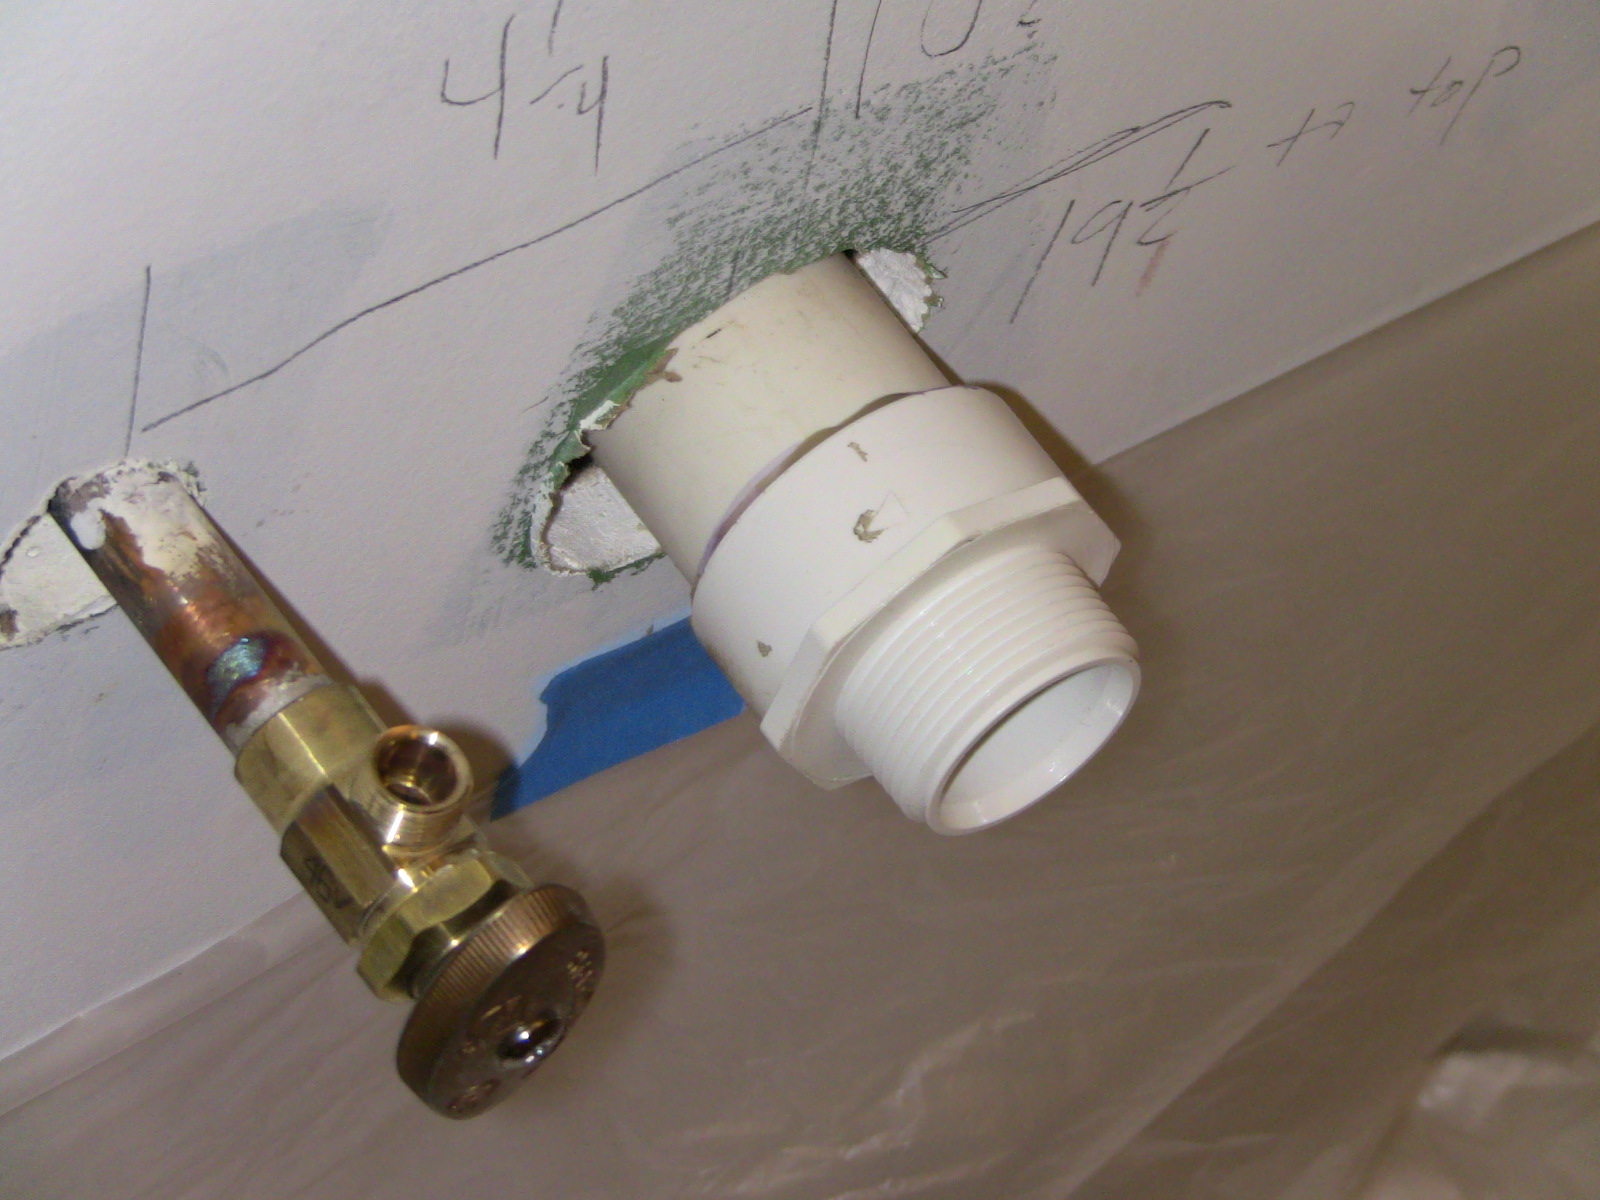 |
| 1 1/2" to 1 1/4" p-trap connector |


Nice job posting a step-by-step process on how you did it, Jerry. This will greatly help readers if ever they are faced with a similar problem. I see you already have bronze and copper pipes installed. I also did a similar repair on our bathroom. When I tried to bleed the air out, water seemed to keep on flowing out. I found out that the threading was thin, so I replaced the valve, which was an easy fix.
ReplyDeleteGayle Manning